
Providing Expert Service For Residential, Agricultural, Commercial and Municipal Water Systems
Expert Water System Specialists in Chehalis, WA
Providing Expert Service For Residential, Agricultural, Commercial & Municipal Water Systems
Reliable Water, Local Expertise –
Water System Support Across Centralia, Napavine, Mossyrock & The Surrounding Areas
TRUSTED WATER
SYSTEM EXPERTS
SINCE 1984
OUT OF WATER?!
For the fastest response to your emergency, please call the main office to report your outage.
One of our on-call technicians will respond to you as soon as possible.
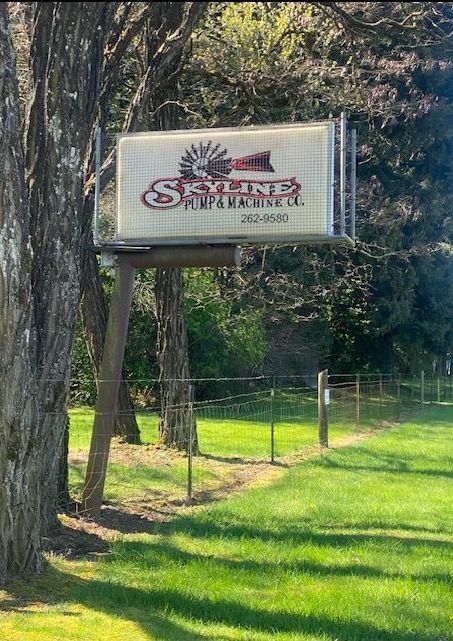
Trusted Water System Experts in Southwest Washington Since 1984
Trusted Water System Experts
in Southwest Washington Since 1984
Trusted Water System Experts in Southwest Washington Since 1984
From rural homes & farms to commercial & municipal systems,
our experienced team delivers dependable service, repair, and installation tailored to local needs throughout Southwestern Washington.
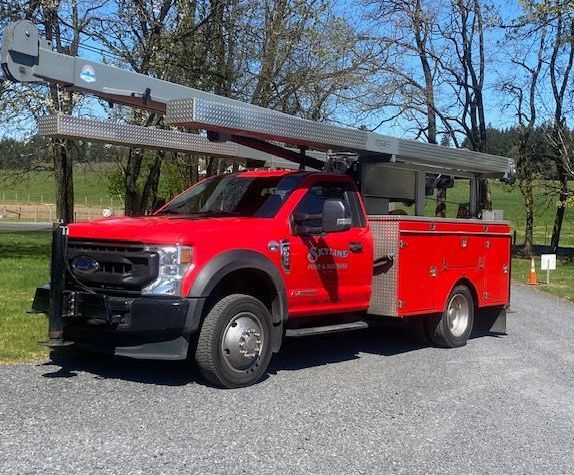
Skyline Pump is a family-owned business rooted in small-town values, expert craftsmanship, and reliable service. For over 40 years, we've provided trusted water system solutions across the region—including well drilling, pump installation, water filtration, testing, and system maintenance.
We’re proud to serve our neighbors with honest, high-quality work backed by 24/7 emergency support. Whether it’s a new installation or a late-night repair, you can count on Skyline Pump for dependable service and long-lasting results.
Our Services in Chehalis, WA
Also Providing Professional Water System Services in Centralia, Napavine and The Surrounding Communities

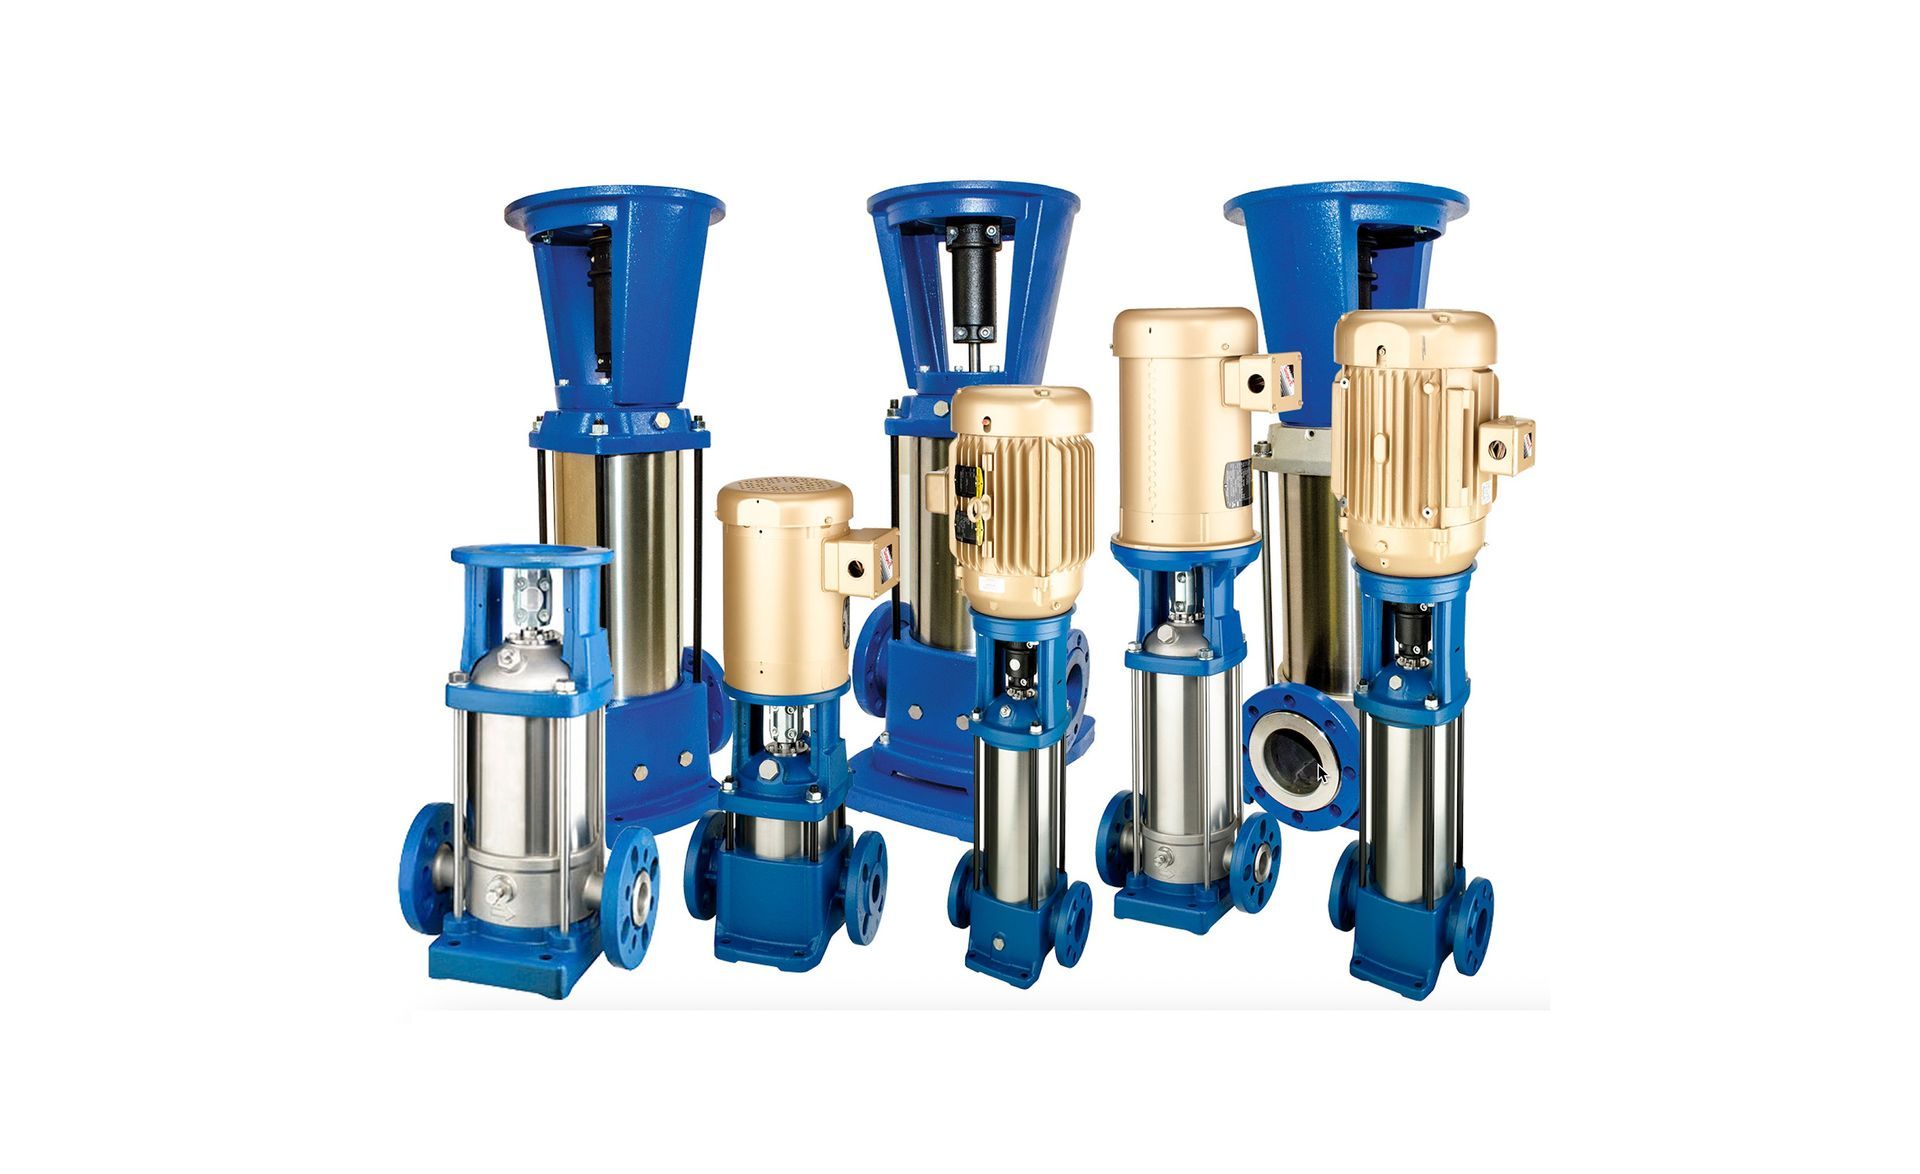
Water Filtration
Reliable water system solutions tailored for residential, agricultural, commercial, and municipalneeds.
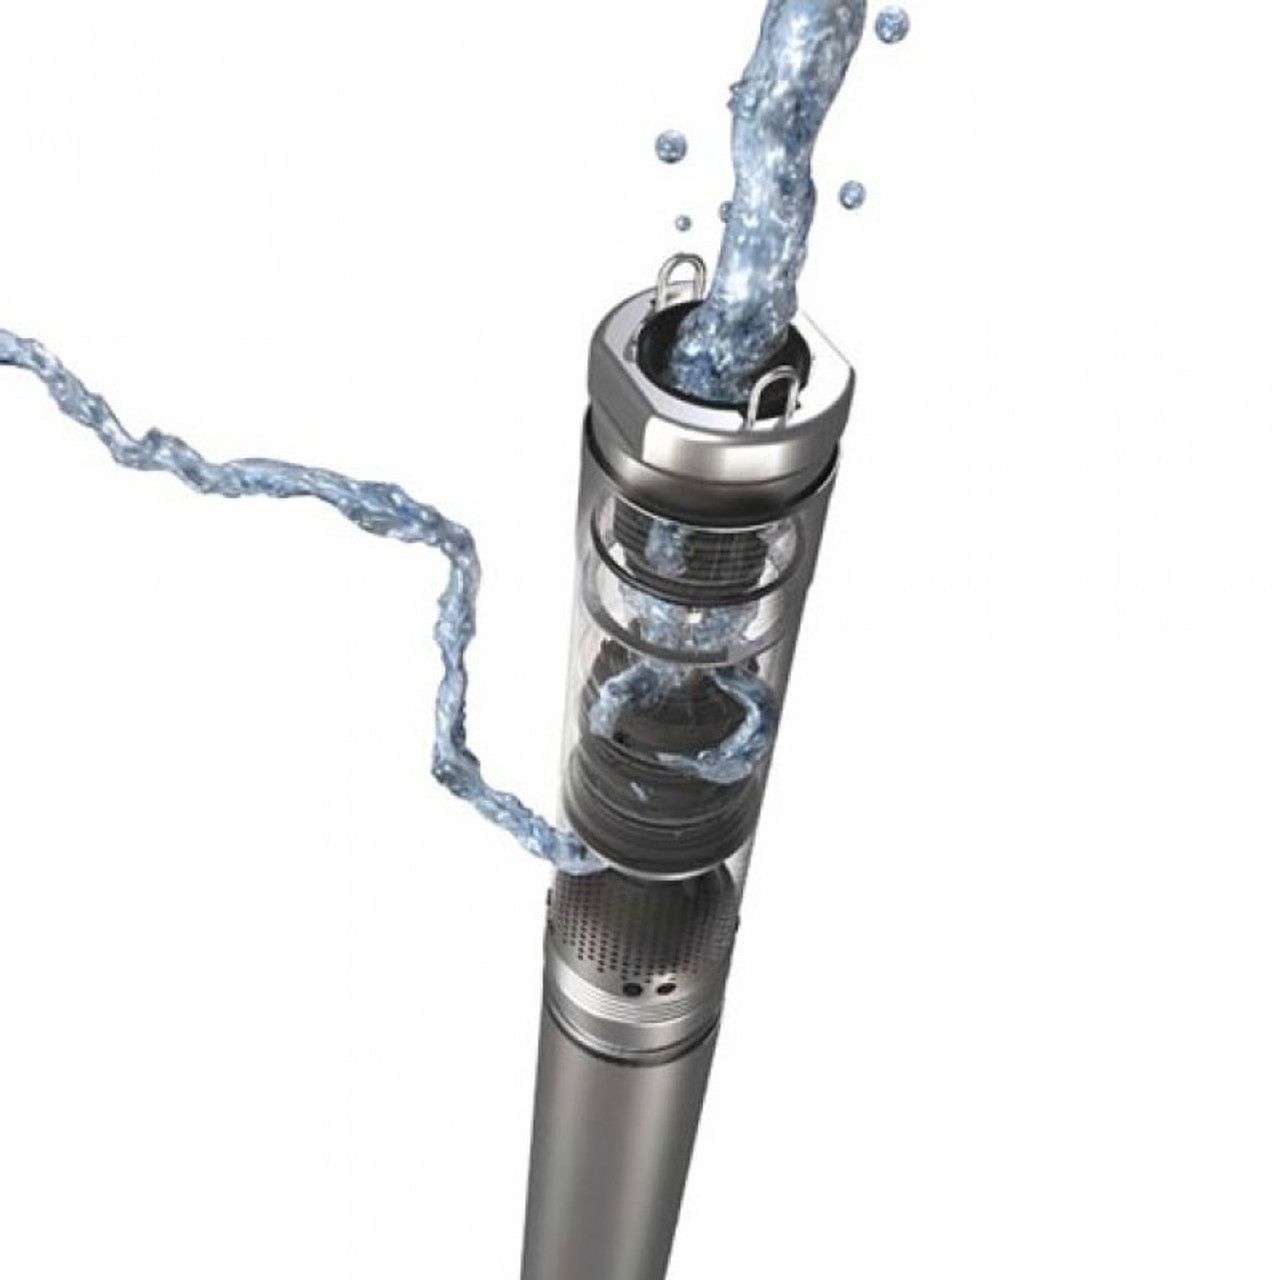

Wells
Helping our neighbors access clean, dependable water with
expert well drilling, repair, and maintenance.


Industries That Trust Skyline Pump
- Day or Night -
COMMERCIAL
- Gas Stations
- Restaurants
- Fire Stations
- Retail Businesses
- Schools & Universities
- Restaurants
AGRICULTURAL
- Dairy Farms
- Farms
- Nurseries
- Orchards
- Vineyards
- Fish Hatcheries
COMMUNITY / HOA
- Mobile Home Parks
- Churches
- Vacation Clubs
- RV Resorts
- Lot Owner Associations
- Community Well Systems
MUNICIPAL
- Small Towns
- Municipal Water Districts
- Fire Departments
- Park & Rec Facilities
- Public Works Facilities
- Correctional Facilities
INDUSTRIAL
- Food & Beverage Processors
- Beverage Bottling Plants
- Cannabis Processors
- Mills
- Chemical Manufacturers
- Cold Storage
RESIDENTIAL
- Rural Estates
- Large Properties
- Single Family Homes
- Apartment Complexes
- Planned Communities
- Tiny Home Communities
SPECIALTY
- Animal Shelters or Kennels
- Equestrian Centers
- Golf Courses
- Wineries
- Campgrounds
- Berry Farms
PROVIDING Reliable Water System Solutions Since 1984.
Call Skyline Pump
for Expert Service and
24/7 Emergency Support.
A Few of Our Happy Customers

"Having well problems, this is the only one to call. Friendly, knowledgeable & professional. got to us quickly and very affordable. They will be out water service from now on. Thank you skyline pump & machine."
Mikael C.
Google Review
"I'm a widow and when my pump went out they were right here to fix it, then 4 months later it went out again and they came out found the broken pipe and turned the water to it off til it was fixed that same day. I had a faulty turn off faucet so they fixed it so it would stay off til I have it replaced. This is a great company with friendly staff."
Sandy P.
Google Review
"Fantastic service!! We called just after 8a and Mason was out to our house by 9:30. Not only did he quickly diagnoses and repair our problem but he took the time to explain everything and educate us on our new to us well. Price was very reasonable also! We've definitely found our preferred well company and can't thank Mason enough!"
Margo P.
Google Review
"Highly recommend. Came out to troubleshoot an issue with in an hour. Beyond being very knowledgeable and fixing the issue, they also took the time to teach me about the components."
Jesse L.
Google Review